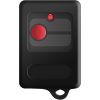
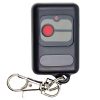
Quantek TX003-C Remote Control (Cardale AZAA1007 / AZAR2003)
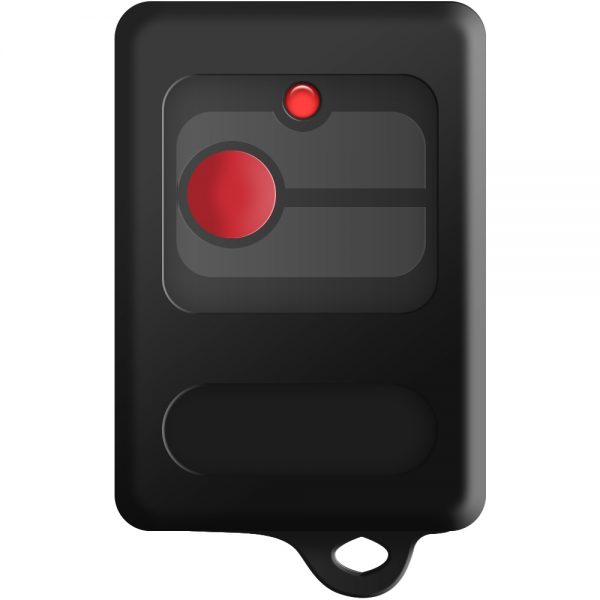
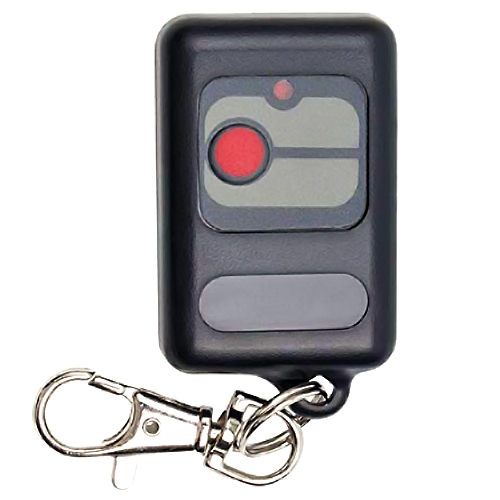
Quantek branded 418 MHz 1 button remote control.
For use with many brands such as Cardale, Quantek, Cordula, Nationwide, Rollexa, Steel-line and Thermaglide.
Unfortunately, this product has either been discontinued, or we no longer stock it.
Description
Quantek branded 418 MHz 1 button remote control. As supplied with many roller type doors including Cordula, Nationwide, Rollexa, Steel-line and Thermaglide, from approx. 1993 to May 1998. Suitable with Cardale AutoGlide II canopy style garage door operators supplied until May 1998.
Also suitable for use with Quantek RCS3 roller shutters.
Features
- Remote Frequency: 418 MHz
- Coding Type: Fixed code (contains dipswitches for programming)
- Compatible with the older remote control style (black remote with one grey button)
- Batteries and instructions included
Alternative Model Numbers
- Cardale Part Ref: AZAA1007 / AZAR2003
- Quantek Ref: TX003-C
Product Specifications
Physical and Performance Attributes | |
|---|---|
| Weight | 50 grams |
Electronics Attributes | |
| Battery Type | LR23A / LR23AE |
| Number of Batteries | 1 |
Remote Control, Radio & Receiver Attributes | |
| Coding Type | Fixed Code |
| Radio Frequency | 418 MHz |
| Remote Body Colour | Black, Grey |
| Remote Button Colour | Red |
| Number of Buttons | 1 |
| Dipswitches | Yes |
| Programming Methods | Program with receiver, Program with existing remote, Program via dipswitch |
| Remote Programming Instructions | This transmitter is compatible with model UKTX003, frequency 418Mhz. Before you can use your transmitter you must first set the security code so that it is the same as your existing transmitters. Remove the screw located on the back of your existing transmitter and carefully lift off the front, put the transmitter to one side, now remove the screw and front of the new transmitter. Locate the row of 10 switches on your new transmitter and adjust their position using the tip of a ballpoint pen so they match your existing transmitter. Check that you have set the switches correctly, fit the front and replace the screw. Your transmitter is now ready to use. |


